1.Check your air pressure
See Air pressure: what should I know?
It’s quick and can prevent many problems
Do it once a month
2. Check the tread wear with one of the three methods:
With a tread depth gauge
With the tread wear indicators
With the quarter test
Put the edge of the coin into the tread, with the Queen going in head first.
If the top of the Queen's head is covered by tread, that's good. If the top of her head is entirely visible, it's time to replace the tire.
3. Inspect your tires for wear and damage problems
We’ve created an easy-to-use online tool to help you identify issues and learn how to fix them.
When should I inspect my tires?
Once every month
Before you go on a long road trip.
Next steps :
Any visible perforation, cut or deformation must be checked thoroughly by a tire professional.
Only a tire professional can tell you if your tire can be repaired or has to be changed.

FIND A DEALER
FAQ
Read our Frequently Asked Questions.
Check tire pressure (cold, before driving): compare to the vehicle placard on the door jamb—not the tire sidewall maximum.
Check tread depth: use a tread depth gauge or the coin test. Replace at 2/32" (legal minimum) or 4/32" for winter tires.
Inspect the tread surface: look for embedded objects (nails, glass), unusual wear patterns, or exposed cords.
Inspect the sidewalls: look for cuts, cracks, bulges, or bubbles—any of these require professional attention.
Check the bead area where the tire meets the rim: look for cracking or signs of air loss.
Inspect valve stems: they should be upright, undamaged, and have caps in place.
A full inspection (pressure + visual check) should be done monthly. A quick visual walk-around before any long trip takes 60 seconds and catches the most obvious issues. Michelin recommends having tires professionally inspected at least once a year after the first five years of tire age, and anytime you experience a significant impact (pothole, curb, road debris). Don't assume tires that look fine are fine—internal damage from impacts is invisible from outside.
Do not remove the nail yourself. The nail is acting as a plug, slowing or preventing air loss. Note which tire it's in, check the pressure, and drive directly to a tire professional. If the tire is already flat or losing pressure rapidly, install your spare. At the shop, the technician will demount the tire, inspect it internally, and determine if a proper patch-plug repair is possible (permitted only in the central tread area, for punctures up to 6mm). Tires with sidewall punctures must be replaced.
Temporary sealant kits (like the ones included with some new vehicles instead of a spare) are emergency mobility tools—they're not permanent fixes. They work for slow leaks in the central tread area and can get you to a tire shop. Limitations: they cannot seal sidewall damage; they may render the tire unbalanceable or unrepairable (the shop will need to clean the sealant out); and they don't work on blowouts. Treat any tire treated with sealant as a temporary measure and have it professionally assessed the same day.
An internal inspection means the tire is demounted from the rim and inspected from the inside. This is required after any impact significant enough to cause internal damage (hard pothole hit, curb strike), after any run-flat operation, after any blowout or near-blowout event, and before any repair is approved. Internal cord breakage, delamination, and liner damage are invisible from the outside. A tire that passes an external inspection can still be unsafe if the interior is damaged—and a flat tire driven on even briefly may be damaged internally even if the exterior looks intact.
Related articles
-
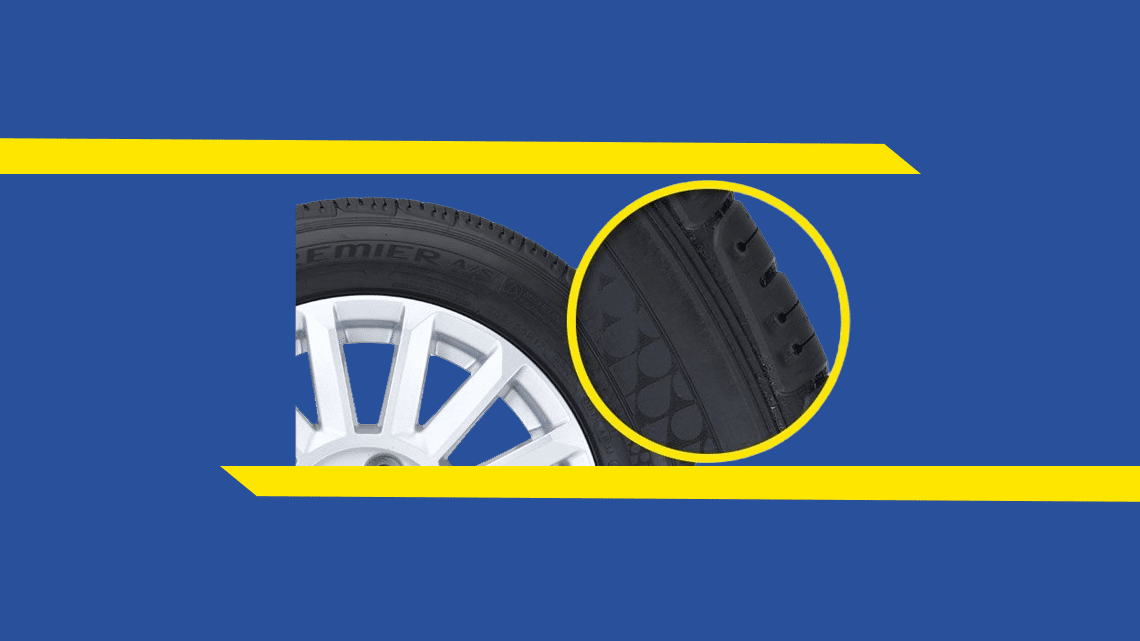
Symptom: Worn
View more -

Symptom: Vibration
View more -

Symptom: Pulling to One Side
View more -
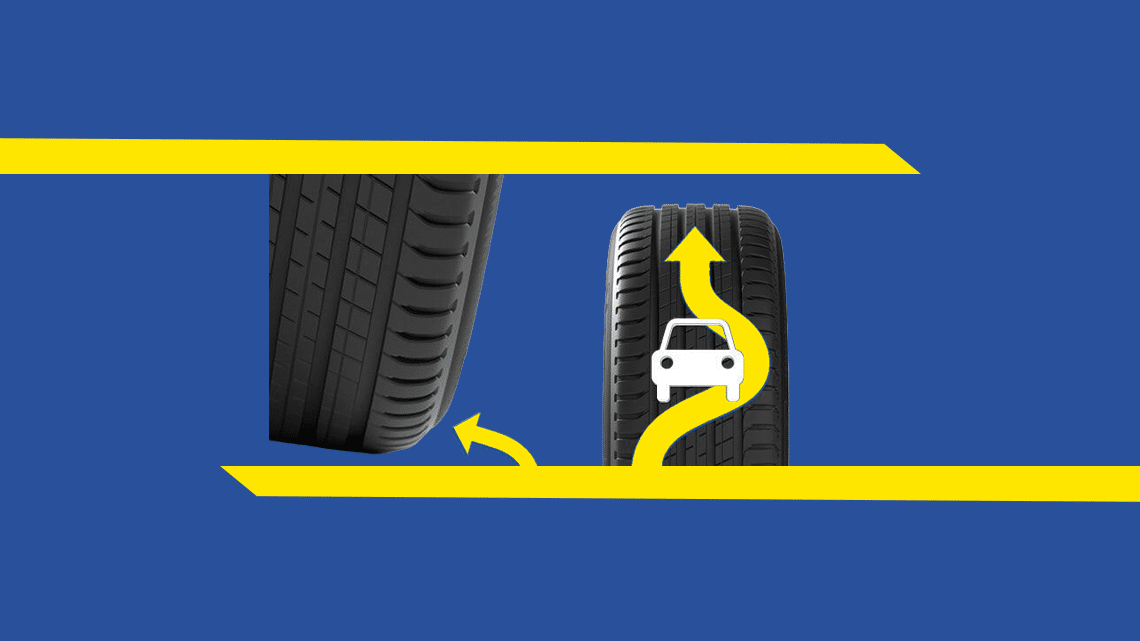
Symptom: Steering Problems
View more -
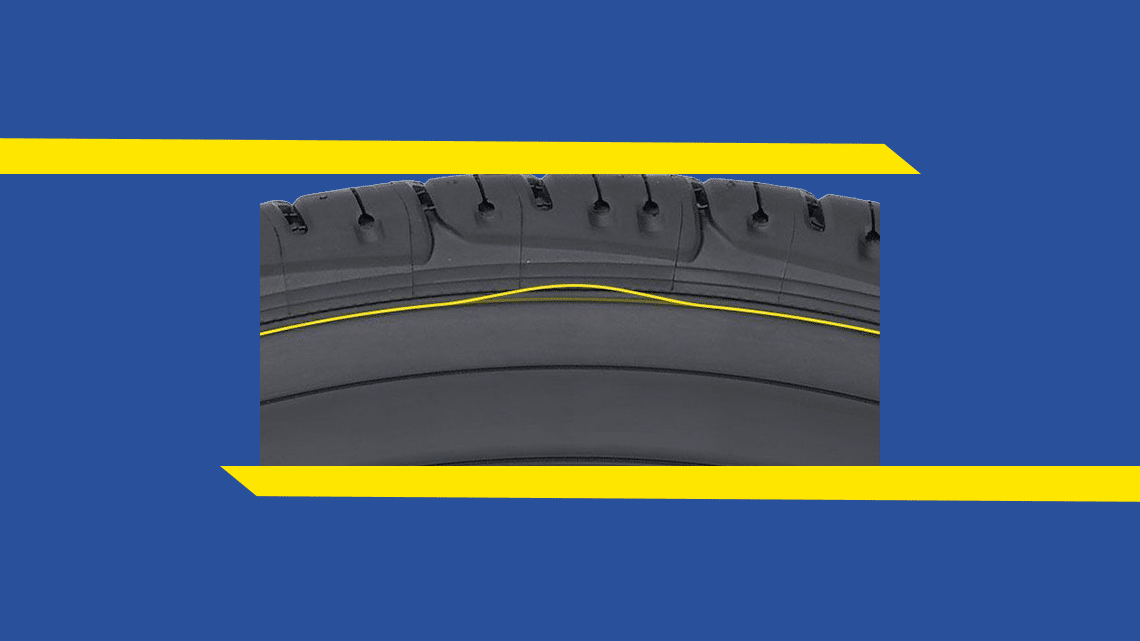
Symptom: Indentation
View more -

Wear Problems
Wear concentrated in the center of the tread means the tire has been chronically overinflated. Wear on both outer edges means chronic underinflation. Wear on one edge only points to an alignment problem. Cupping or scalloping across the tread surface suggests a balance or suspension issue. Each pattern identifies a specific, fixable cause, and addressing the cause before replacing the tire prevents the same pattern from destroying the replacement.View more -
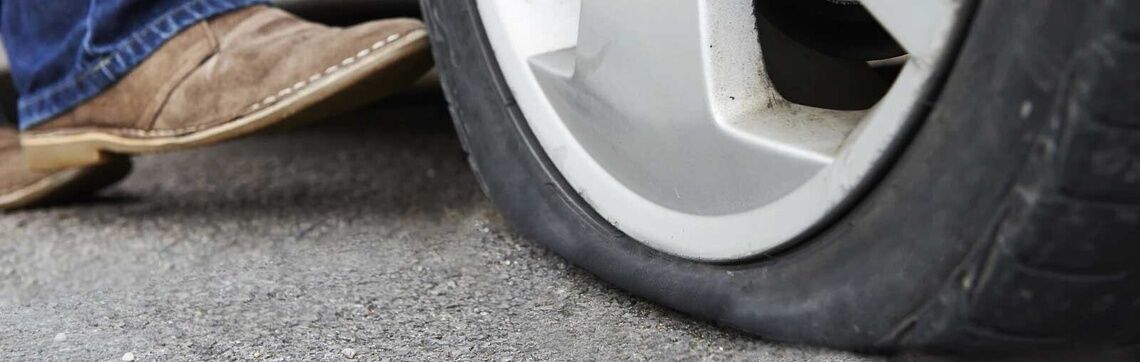
Tire Flat Spotting
If you have a flat tire, it may be for a number of reasons. Often, inflation pressure loss is a consequence of a tire puncture or tire sidewall damage, but it could also be a leaking valve, valve cap or even the wheel. So what should you do when your tire goes flat? Let's get to the heart of the matter.View more -
Sidewall Problems
Use Michelin's Sidewall Inspector to identify what you are looking at before deciding whether to drive the vehicle. An indentation where cords overlap inside the tire is a normal manufacturing feature and completely harmless. A protrusion or bubble indicates an internal structural failure and means the tire must be replaced immediately. The tool provides a clear, specific recommendation based on your description, including when to pull over without driving further.View more -
Handling Problems
Describe your handling symptom to Michelin's Inspector Tool and it narrows the likely cause systematically. Speed-specific vibration points to imbalance. A consistent pull after pressure has been equalized points to alignment. A pull that occurs only during braking points to the braking system. The tool asks the diagnostic questions that distinguish between tire issues and mechanical ones, so you can book the right service appointment rather than a general inspection.View more -
Tread Problems
The Tread Inspector module helps you interpret what you see on your tread surface. Center wear confirms chronic overinflation. Edge wear on both sides confirms chronic underinflation. One-sided wear confirms an alignment problem. If you find a nail, the tool will tell you what not to do: do not pull it out yourself. Drive carefully to a professional, have the tire removed from the wheel, and have a proper internal inspection and patch-and-plug repair performed.View more -
Symptom: Poor Alignment
View more -

Symptom: Wear on Both Edges
View more -

Symptom: Wear in Center
View more