Notice: Do not attempt to change a tire if it risks the safety of you or your passengers.
Removing the tire:
Move to the side of the road safely, put on your hazard lights and set your emergency break.
Find your spare tire and tools (lug wrench and a jack) – usually in the trunk or under the car (but you can check in your owner’s manual as well).
Remove the wheel’s hubcap. Don’t remove the lug nuts – just loosen them up.
See your manual to find the right place to lift the car with the jack.
Lift the car until the wheel is off the ground.
Remove the lug nuts and then the tire with both hands.
Mounting the spare:
Align the holes on the spare with the bolts on the wheel and push the tire in as far as it will go.
Replace lug nuts and tighten.
Replace the opposite lug nuts (this ensures they are tightened evenly).
Lower your car.
Retighten each lug nut, then its opposite.
A few more tips:
Carry a pair of sturdy gloves and a garbage bag in your trunk, in case the tire you're removing is covered in mud and a sturdy board to place your jack on in case the ground is soft, to avoid the jack sinking in.
Check the inflation pressure of the spare tire before mounting. If this is not possible, once mounted, drive carefully at low speed until it can be checked.
Visit the nearest service station and inflate the tire correctly.
If you have a mini spare, make sure you stay within its speed and mileage requirements.
Visit your garage to find a replacement tire.
Wheel nuts
Where necessary, use light machine oil on the wheel nut threads to help their removal.
Poorly tightened wheel nuts risk damaging the brake discs or wheel mounting system.
Use a torque wrench to make sure you tighten the nuts correctly with the correct torque.
If you don't have a torque wrench get a tire specialist to check them as soon as possible. This will ensure the correct torque has been applied.Correctly tightened wheel nuts will also make it easy to remove them.
Tire Registration
Make sure your tires are registered to receive direct notification in the event of a safety-related recall.

FIND A DEALER
FAQ
Read our Frequently Asked Questions.
Move to a safe, flat location away from traffic. Turn on hazard lights.
Apply the parking brake. Place wheel wedges if available.
Remove the hubcap and loosen the lug nuts slightly (before lifting).
Position the jack under the vehicle's manufacturer-specified jack point (check your manual) and raise the car until the flat tire clears the ground.
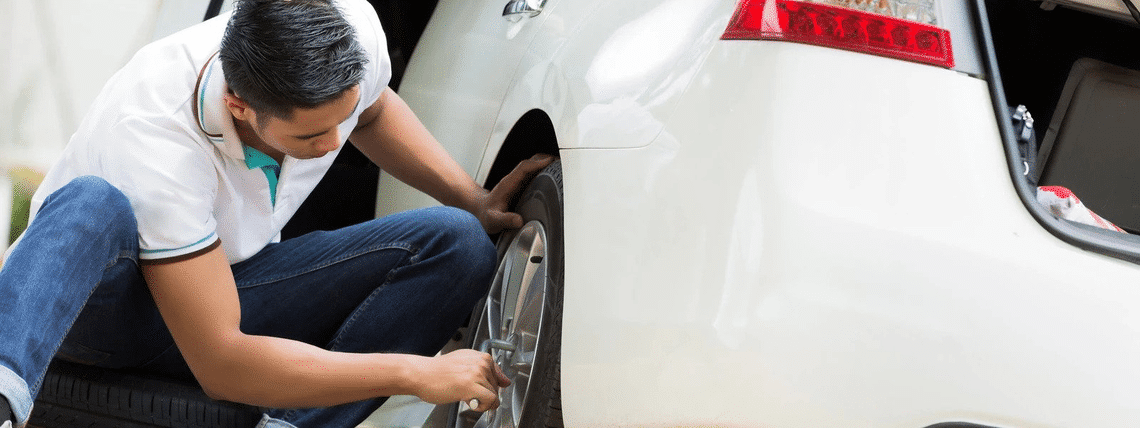
Remove the lug nuts fully, then remove the flat tire.
Mount the spare, hand-tighten the lug nuts in a star pattern.
Lower the vehicle, then fully tighten the lug nuts—again in a star pattern—using a torque wrench if available.
Check the spare's pressure as soon as possible.
If you have a mini spare, drive carefully and do not exceed 80 km/h. Get to a tire shop promptly.
A properly inflated spare tire, a jack, and a lug wrench
A pair of work gloves and a reflective vest or triangle
A torque wrench or breaker bar
A flashlight and a garbage bag (for handling a muddy or wet tire)
If your vehicle uses run-flat tires, know how to use the inflator/sealant kit—read the instructions and check the canister's expiry date annually
For someone familiar with the process, a tire change takes 15–30 minutes. The first time—or in challenging conditions (dark, cold, soft ground)—plan for longer. The biggest time costs are locating the jack point, breaking loose rusted lug nuts, and getting the jack positioned correctly. Practicing the process at home in daylight, even once, will make an emergency roadside change significantly faster and safer.
Related articles
-

Tire pressure
Correct tire pressure is the single maintenance check that affects the most things simultaneously: safety, tread life, fuel consumption, and handling. Check when tires are cold, before driving or at least three hours after. Use the pressure from your vehicle's door placard or owner's manual, not the maximum on the tire sidewall. Never deflate a hot tire: the higher reading is normal and will correct when the tire cools. Gas station pressure gauges are often unreliable; invest in your own calibrated gauge.View more -
Can my Tire be repaired
Minor tread damage in the central portion of the tread, away from the shoulders and sidewall, is often repairable by a trained professional. Sidewall punctures or tears, damage near the shoulder, and damage to a tire that has been driven flat cannot be repaired. Do not attempt to repair a tire yourself. A proper repair requires removing the tire from the wheel for full internal inspection before deciding whether a repair is safe. This page explains the conditions under which repair is appropriate and when replacement is the only responsible choice.View more -

Storing my tires
Before storing seasonal tires, note their position on the vehicle so you can rotate correctly next season. Clean with water and dry thoroughly to prevent corrosion. Store indoors in a cool, dark location away from sunlight, heat sources, and ozone generators such as electric motors. If tires are mounted on rims, stack them horizontally. If unmounted, store them upright side by side. If a vehicle will be parked for an extended period, jack it up or remove the tires to prevent the weight of the vehicle from damaging the tires permanently.View more -
Routine tire care tips
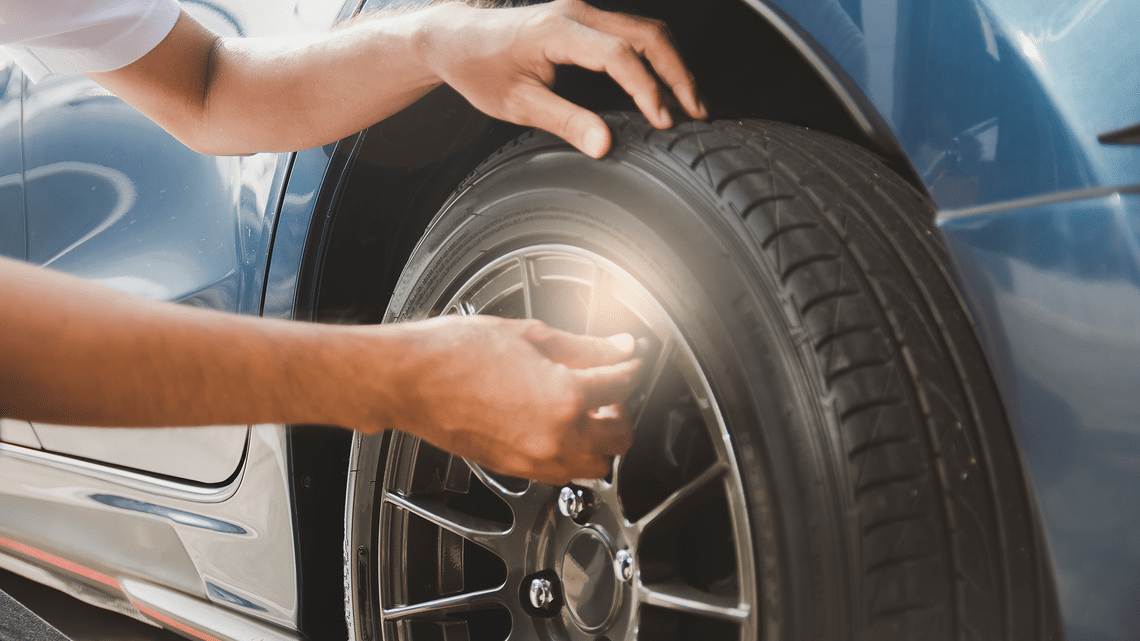
Check your tire pressure at least once a month when tires are cold, before driving or at least three hours after. Use the recommended pressure from your vehicle's door sticker, not the number on the tire sidewall. Inspect tread depth at multiple points across and around the tire, and look for cuts, embedded objects, and sidewall damage before long trips. Rotate tires every 10,000 to 12,000 kilometres. These four habits prevent the majority of preventable tire failures.View more -
Why is tire maintenance important ?
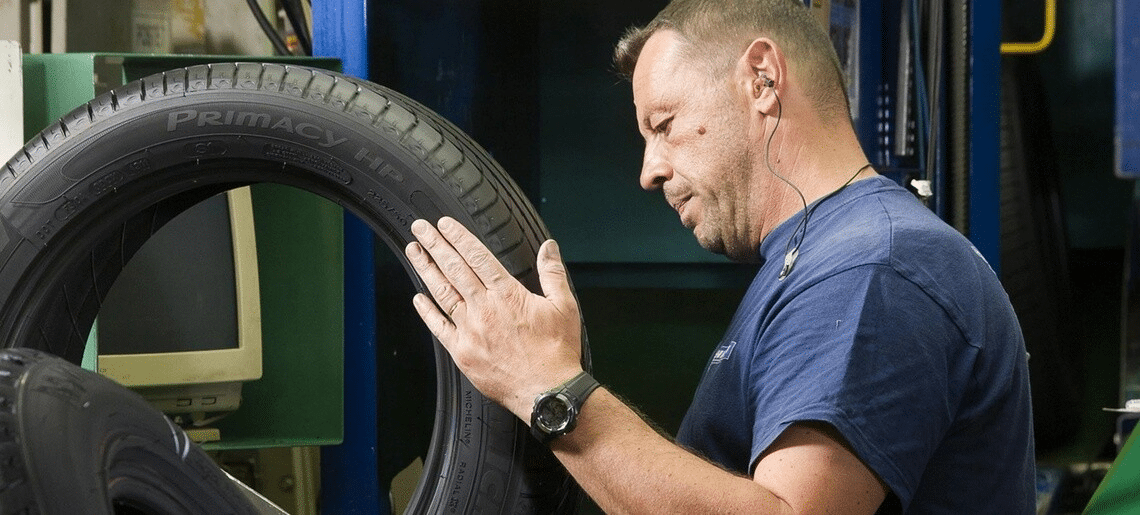
Tires lose air naturally, around one PSI per month, even without a puncture. Running a few PSI below the recommended pressure consistently shortens tire life, increases fuel consumption, and in severe cases can lead to a structural failure at highway speed. This page explains the specific consequences of neglected tire maintenance so the case for regular checks is clear and concrete.View more -

Visual Tire Inspection Before Installation
Before installing new or used tires, undertake a thorough visual check. This step ensures proper mounting and improves tire performance. Skipping or hurrying through this phase may result in vibrations, air loss, handling concerns, or premature tire wear after installation.View more -
Wheel Alignment and Balancing: Why They Matter
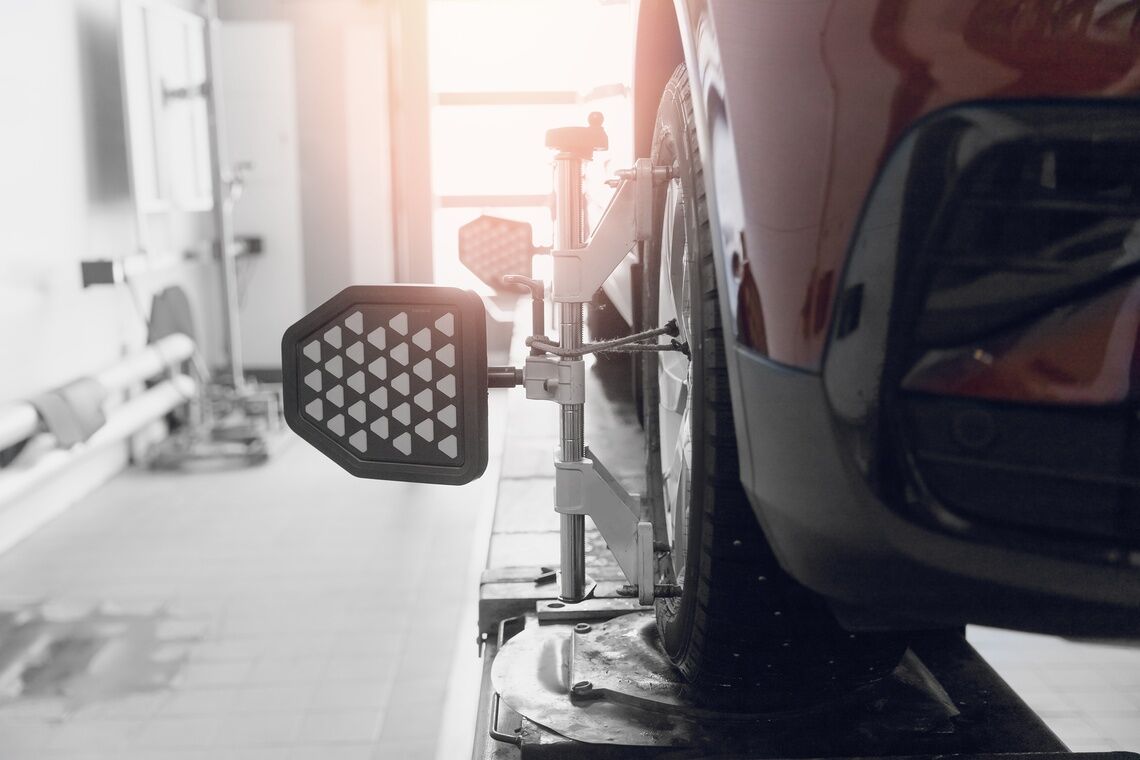
Wheel alignment and wheel balancing are important yet often misinterpreted services that impact tire performance. While these services are frequently recommended together, each addresses distinct issues that significantly influence tire wear, vehicle handling, and operational efficiency.
Understanding how alignment, balancing, mounting, and wheel fitment work together can help you protect your tires, improve driving comfort, and avoid unnecessary wear.View more